Start coding with Scratch
Difficulty
20 min
Difficulty
20 min
What is this about? In this introductory project, you who are new to programming and the Scratch tool, can try a few first basic steps of coding.
The goal: Add a new character, paint a backdrop, and get the character to move by coding.
Sample project: Click on the moving image below to test a completed sample project: 
HOW DO YOU CODE?
Follow the step-by-step instructions and code your project in Scratch, a programming tool. Click here to open Scratch.
Click on Create at the top of the Scratch web page to open the coding tool. If you have a Scratch account, you can log in, and save the project.

Note! To change language in Scratch, click on the arrow next to what looks like a globe in the top left corner and a whole list of language will appear.
Time to start coding! Make sure you have Scratch open in one tab of your web browser and this instruction in another tab. Or have two windows open next to one another.
Click on Chapter 1 below to proceed.
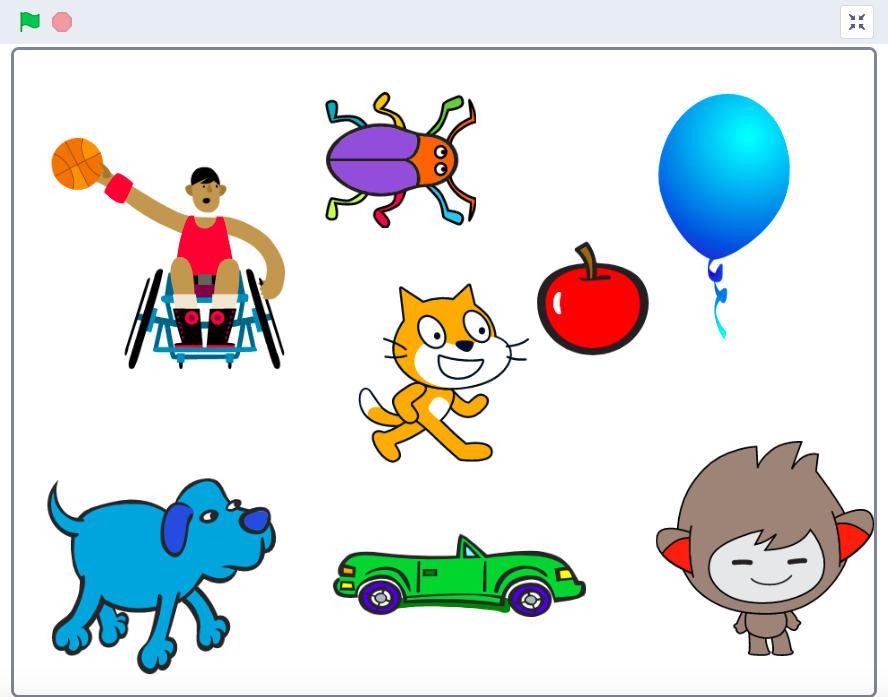
In Scratch, characters and figures are called a "Sprite". There are lots of different Sprites to add to your project, which you can then program to move.
Here are some examples of different Sprites. </br>
Time to replace the cat Sprite: We start by replacing the cat Sprite with a new character – for example a beetle!
TIME FOR YOU TO:
Remove the cat Sprite from the project
Choose a new Sprite (for example a beetle)
Reduce the size of the Sprite
STEP-BY-STEP INSTRUCTIONS:
Remove the cat and choose a new Sprite
There are two similar cat characters in the project – one large and one small. The big one is on the white Stage and the little one in a box below the stage.
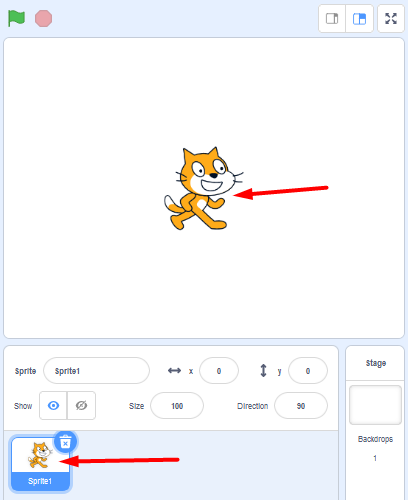
On the box with the small cat below the Stage there is a trash can. Delete the cat from the project by clicking on the trash can. The cat is now gone and the stage is empty with no Sprites in the project.

Now we need to add a new Sprite. To the right under the stage you can see a blue button with a white cat face on it. This is the Choose a Sprite button. Click on it.

Now you are in the Sprite library for Scratch. There are lots of Sprites to choose from. Click on the Sprite you want in your project and it will show up on your stage.
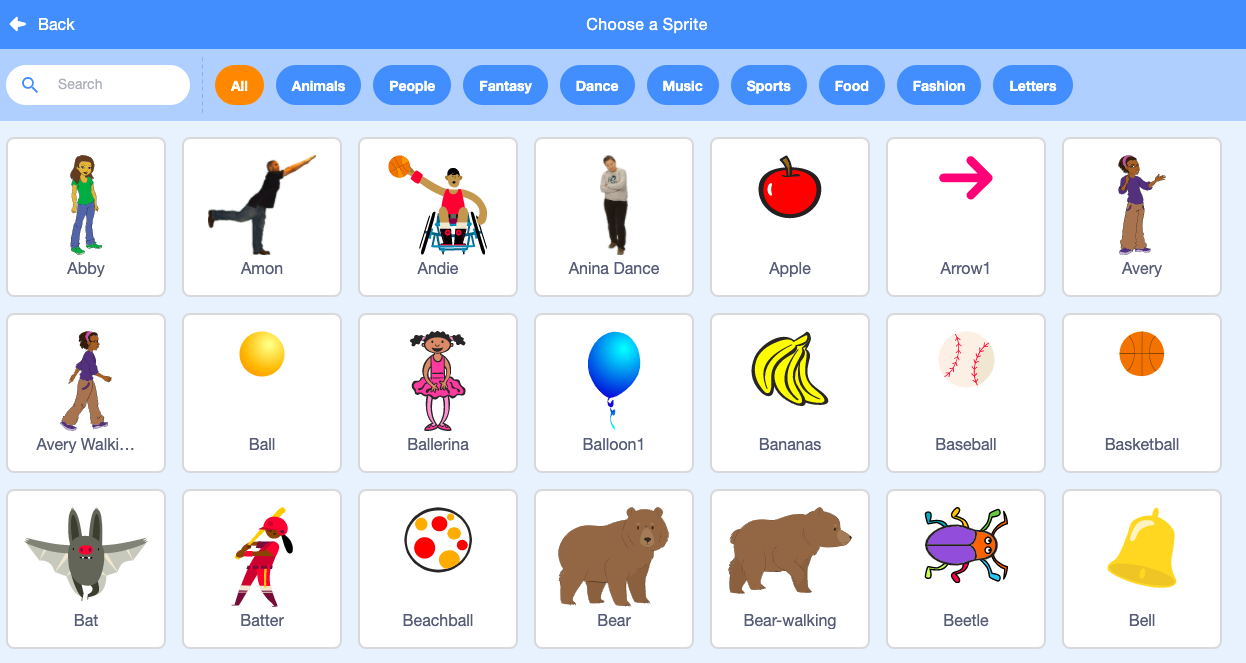
Note! At the top of the Sprite Library there is a menu with different categories to make it easier to find the Sprite you want, for example, Music, People or Food. There is also a search function.
Reduce the size of the Sprite
Next step: You have now added a new Sprite and we want to make it move, but first we’ll create a more fun backdrop for the Sprite to move on.
Click to go to chapter 2.
Now we are going to draw a backdrop with a track for the Sprite to run on.
TIME FOR YOU TO:
Activate the backdrop
Enable Bitmap mode in the drawing tool
Select color and tools to fill the backdrop
Choose a new color and tool to paint a track
STEP-BY-STEP INSTRUCTIONS:
The white box behind your Sprite is called a stage. We can change the backdrop of the stage, either by selecting an image from the backdrop library or by drawing our own. We want to draw a backdrop with a track on it. This is how:
Activate the backdrop and drawing tool
The Sprite is activated, since we have been working with it so we need to activate the backdrop to be able to make changes to that instead. Click on the white box in the bottom right hand corner where it says STAGE. The backdrop is activated when you see that it is marked with a blue frame.
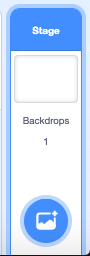
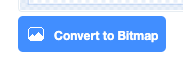
To open the backdrop drawing tool, click on the tab called Backdrops located in the top left corner of your screen.
Click on the blue button at the bottom below the drawing area that says "Convert to bitmap” on. This makes painting much easier.
Pick color and tools to change the backdrop
Select a new color for the backdrop by clicking on the Fill box. A color picker will appear. Move the white circles to the left or right to get the color you want.
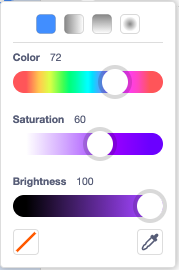
When you are happy with your color, close the window of the color picker by clicking anywhere outside it. Then select the tool that looks like a BUCKET. Click on the larger checkered area to the right and the whole backdrop will be in the color you selected. (You will se the same color appear on the Stage with your Sprite as well)

Choose a new tool and color to paint a track
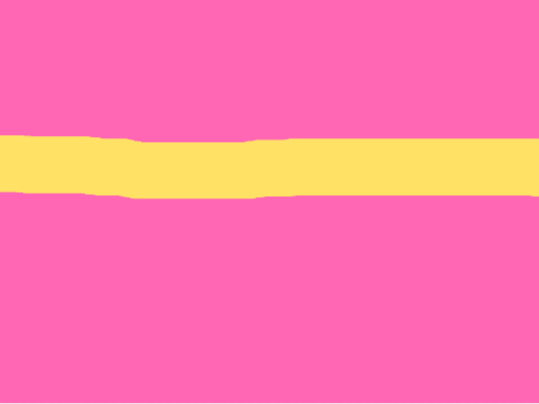
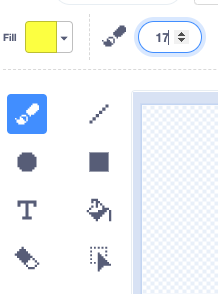
Now we need to paint a track for the Sprite to run on. Click on the tool that looks like a BRUSH. Then click on the number 10 above the drawing surface and change the size of the brush to 100 – a good width for the track. Press Fill to pick a color for the track.
Paint a straight path on the drawing surface with the brush and the new color. The line should be quite thick so the Sprite can fit on the track.

Next step: we have a Sprite and a backdrop. Time to start coding so that the Sprite can run on the track!
Click on Chapter 3 for the next step
A Sprite is just an image, but with code we can control the Sprite and the project. Coding in Scratch can for example look like this:
With the help of code we can give the Sprite instructions for how it should move across the stage. Code also controls how and when the Sprite should be moving. You create the code with the colorful puzzle pieces that you see on the left side in Scratch. You put the pieces together into, what we call, a Script on the large white script surface in the middle.
Time for you to make the Sprite move!
TIME FOR YOU TO:
Activate the Sprite and go back to the code workspace
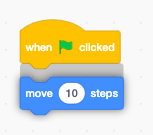
Add code for EVENTS with starting code: when GREEN FLAG clicked
Add code for MOTION: move 10 steps
Add code for CONTROL: forever (a loop)
STEP-BY-STEP INSTRUCTIONS:
Return to the code workspace and activate the Sprite
Now you are ready to start coding your Sprite – which doesn’t have to be a beetle.
Start och stop button
Have you noticed the START and STOP buttons above the stage with the Sprite? The green flag is the start button and the red button is the stop button.

Time for you to add code so that your Sprite starts to move on the Stage when you press the START button – that is, the green flag.
Enter code block for start

Click on the yellow theme called EVENTS and select the block with a green flag on it called: "when GREEN FLAG clicked”. Drag the block to the large, white script surface in the middle of the window and drop it there.
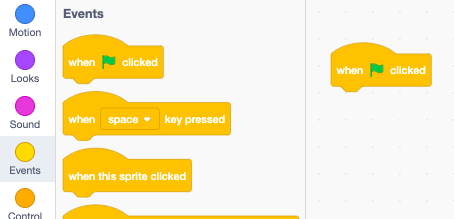
You have now added a Hat block to your project. A hat block is always at the top of the code you want to build. But you need more code so that the Sprite knows what to do when the green start flag is clicked.
Enter code blocks for motion
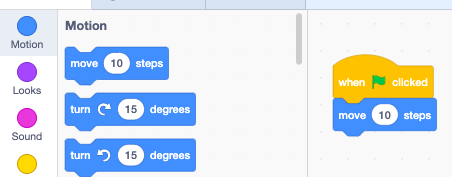
Note! If you move two blocks close to each other on the script surface, a gray shadow will appear. You can then release the code block you are holding, and the blocks automatically come together as puzzle pieces –like a magnet is pulling them together.
Test your code! Test what happens when you press the START button (the green flag above the scene). Does the Sprite move a little to the right when you click the start button? Try several times, what happens?
Add a loop to repeat the motion
You want the Sprite to continue moving forward when you press the start button. For that we need to add a code block that tells the motion to repeat over and over again. This is called a loop. This is what you do:
Click on the orange theme called CONTROL. Here you will find a block called "forever". This block will repeat the code that is placed inside it over and over, which is a loop.
Pull over the "forever" block to the script surface and place it directly below "when GREEN FLAG clicked" so that the blue motion block "move 10 steps" is placed inside the loop. It should look like the image below:

Test your code! Press the START button. Your Sprite should run away really fast.
Stop the code and drag the Sprite back

Note! Does the Sprite move too fast? You can change the speed by typing a lower number in the blue block called “move 10 steps”. Click on the number 10 in the block and write, for example, 3. Start the project again – does the Sprite move at a good speed? Test until you find the speed you want it to have.
Next step:
Now we have a Sprite that runs on the track, but it gets stuck at the edge. Let’s give it a starting position.
Click on Chapter 4 for the next step.
To avoid having to drag the beetle (or whatever Sprite you are using) back every time you start the game, you can code it to start at the same place each time. For that you need to use x and y coordinates.
TIME FOR YOU TO:
Drag the Sprite to a place on the track where you want it to start
Enter code to indicate starting position MOTION: go to x: __ y: __
STEP-BY-STEP INSTRUCTIONS:
Add a code to set starting position
Drag the Sprite to the position on the track where you want it to start.
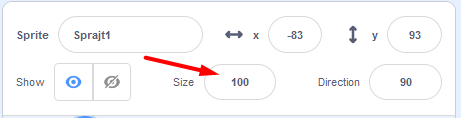
Click on the MOTION theme on the left and select the block "go to x: __ y: __". Insert the code block in the script directly below the block "when GREEN FLAG clicked". The numbers (values) that are in the block at X and Y are the coordinates for the position of your beetle on the stage.
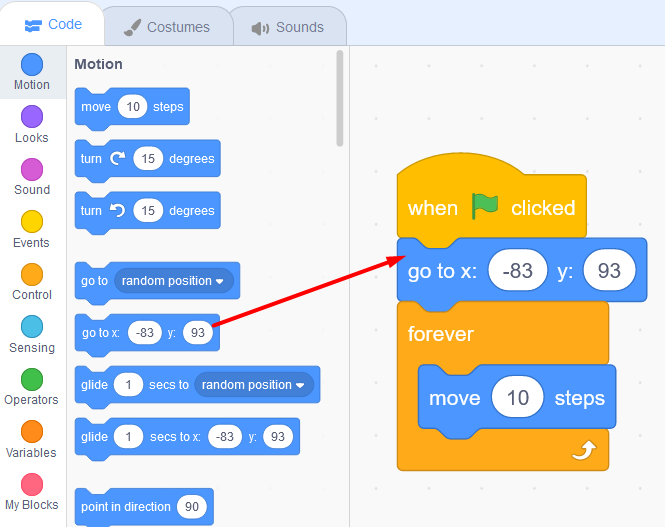
Now the beetle will be in the same starting position every time you press the green START flag above the stage.
Time to test your code! Does the Sprite start from the same position every time you press the green start flag? Does it move fast enough?
Good work! You have created your first project in Scratch and coded your first project that makes a Sprite move.